
Spring Children’s Craft: Coffee Filter Butterflies
The following is a post from our contributor, Andrea.
My little girl loves doing crafts. Anything that involves glitter, paint, glue, or coloring is right up her alley. Since it has been cold, and my husband takes the car to work each day, we have been “stuck” indoors with cabin fever! I've been trying to spice up our daily routine by sprinkling some crafts and new activities into the week. Recently we made a very simple craft: coffee filter butterflies. (I have an 18 month old and a 3 year old, and both were able to do this craft. I only helped with the gluing).
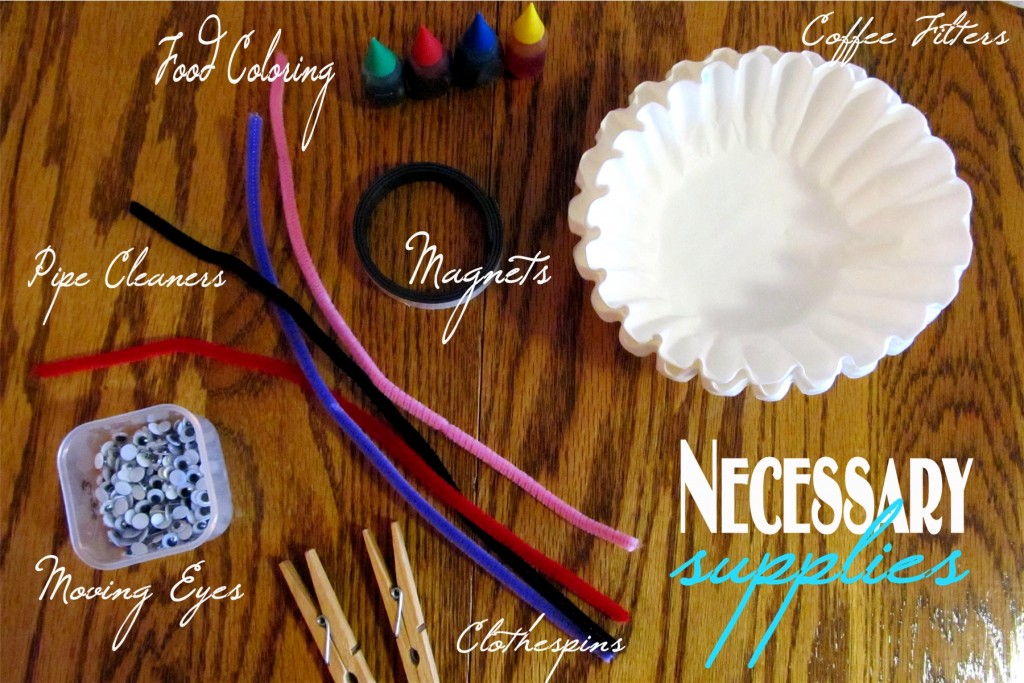
Supplies:
- Coffee filters
- Food coloring
- Small bowls or Dixie cups
- Paintbrushes
- Clothespins (one for each butterfly)
- Pipe Cleaners
- Moving eyes (optional)
- Magnets (optional)
If you have older children you can use Elmer's glue or craft glue. My kids are young and impatient, so I used a hot glue gun to put their butterflies together. If you are pressed for time, you can use a hair dryer to speed up the drying process after the filters are “painted.” We split our craft into two segments – one before lunch, and one after nap time.
Directions:
1. Prepare the area. I have a plastic table cloth I place on the table when we are crafting, and my kids wore paint smocks since we were using food coloring. I also had a box of baby wipes and a roll of paper towel handy…which my son put to good use.
2. Mix colors. In each small bowl or cup add 1 Tablespoon of water. Then add several drops of food coloring. The more food coloring, the more vibrant the color will be on your coffee filter.
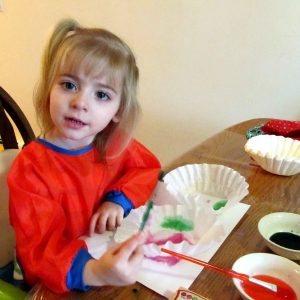
3. Paint. I placed a paper towel under each coffee filter to help absorb the excess water. I flattened the coffee filter and then let my kids use the paint brushes to drop the colored water onto the filters. Then we hung the filters up to dry. {I used clothespins to clip them to a hanger over the bathtub}. Let the filters dry completely. We painted before lunch, and completed the butterflies after nap time. You can speed up the process with a hair dryer if needed.
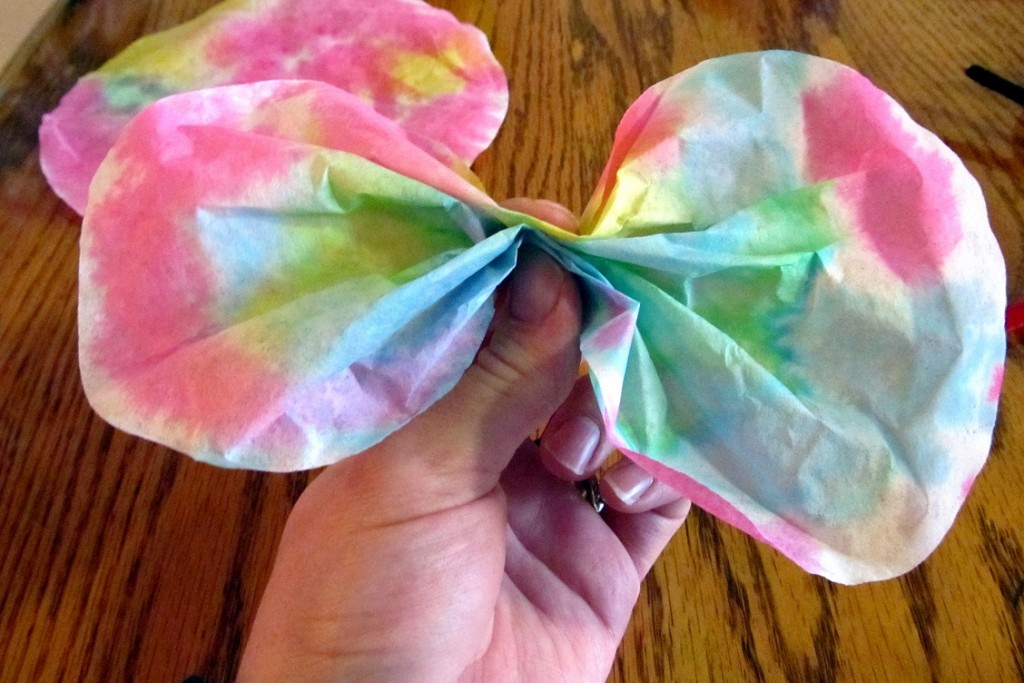
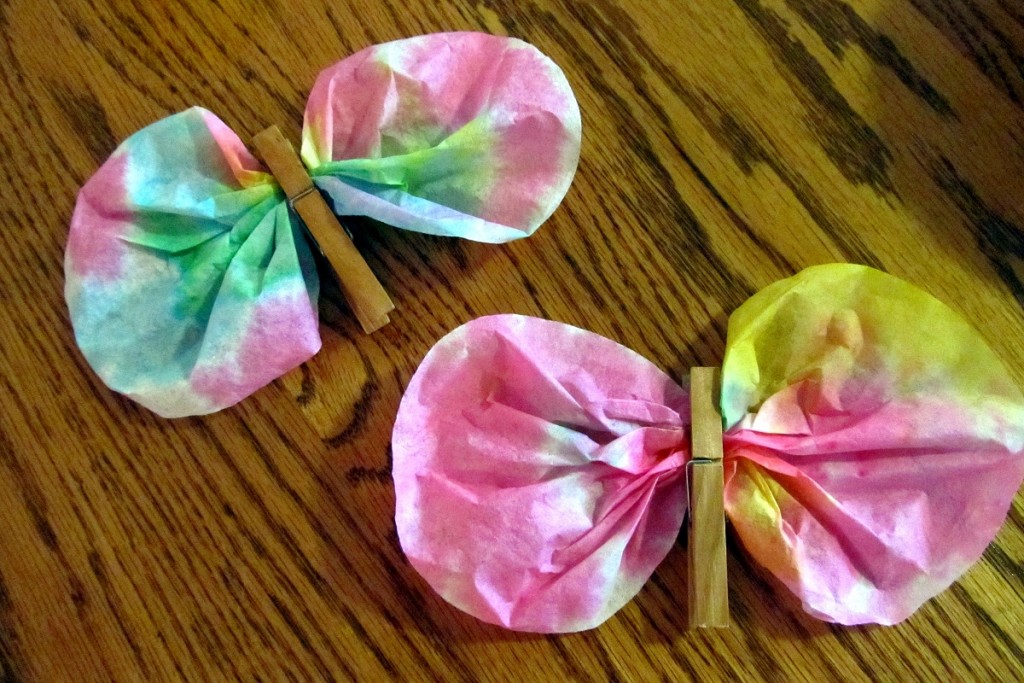
4. Assemble the butterfly. Scrunch the filter up in the center so that it will clip inside a clothespin. The clothespin is the body of the butterfly. You can have older children paint the clothespin if you want, but my kids were too little for that. I added some hot glue to keep the filter inside the clothespin, because I knew my son would try to take it apart. We cut each pipe cleaner in half, and then folded the piece into a “v” to form the antennae We glued it onto the clothespin, along with some moving eyes. My daughter insisted that the butterfly needed a mouth, so we added that detail with a Sharpie marker. Add a magnet strip to the back of your butterfly if you want them to hang on the fridge.
That's it! It's a simple craft, but my kids had fun creating a mess with the colored water, and then getting a butterfly out of it. They also like playing with magnets on the fridge while I am working in the kitchen.
